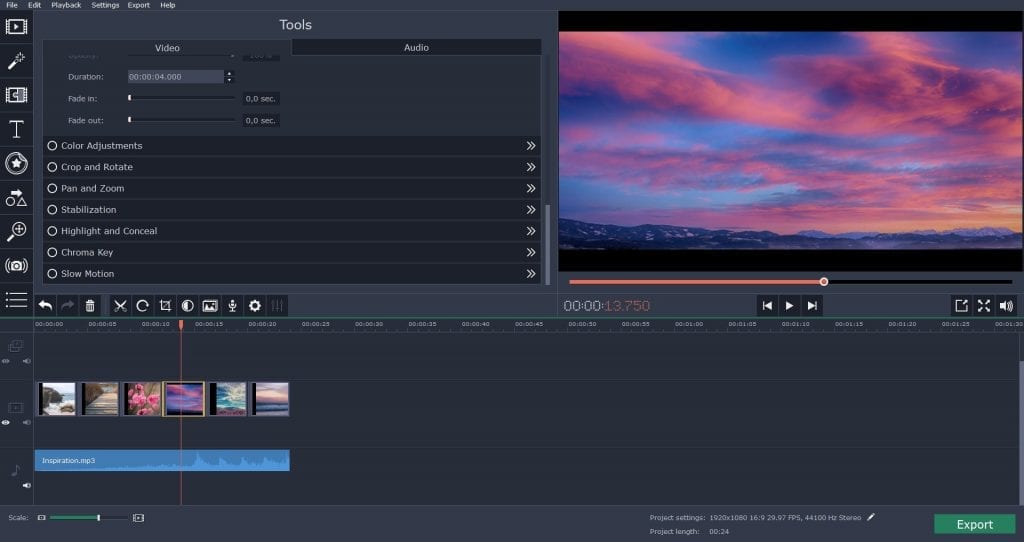
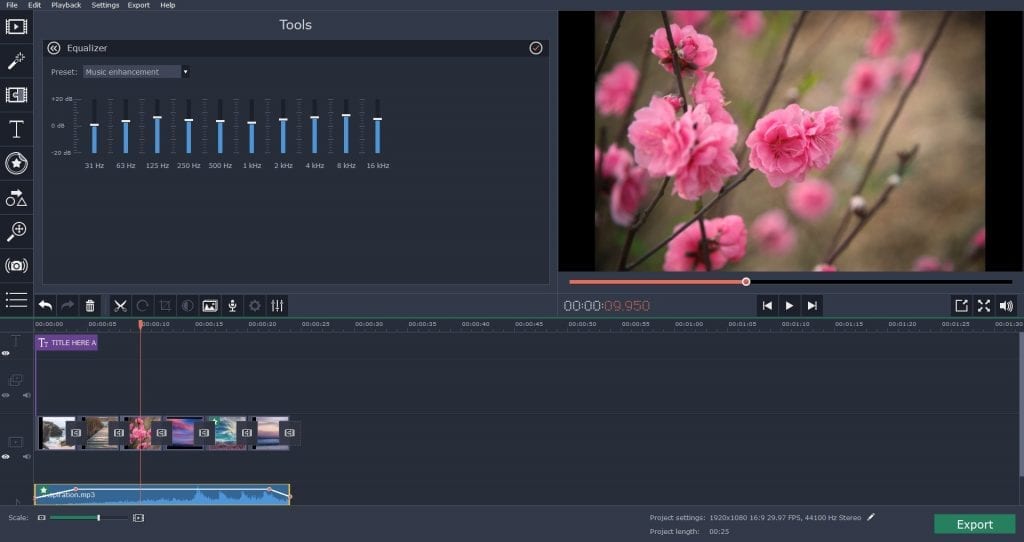
Everything you add to the timeline – video, photos, and audio – can be dragged onto multiple tracks, so you can work with them individually. Not only can you upload footage stored on your computer, but you can also record video from a webcam or a VHS – there is a handy video capture tool you can use. To make your video look like a professional’s work, you can use some of the videos and images stored in the program’s library, or download even more footage.
All the basic tools are placed in the bar right above the timeline; the Clip Properties button reveals even more options. You can trim, cut, crop, and rotate videos, even insert transitions between all clips. If necessary, you can fix such defects as dull colors or camera shake. Here you’ll find special effects as well: Chroma Key, Pan & Zoom, Highlight & Conceal, Slow Motion. You can find other decorating elements – filters, stickers, callouts, and transitions – under the tabs on the left. These things can make your video more dynamic, engaging, and informative.
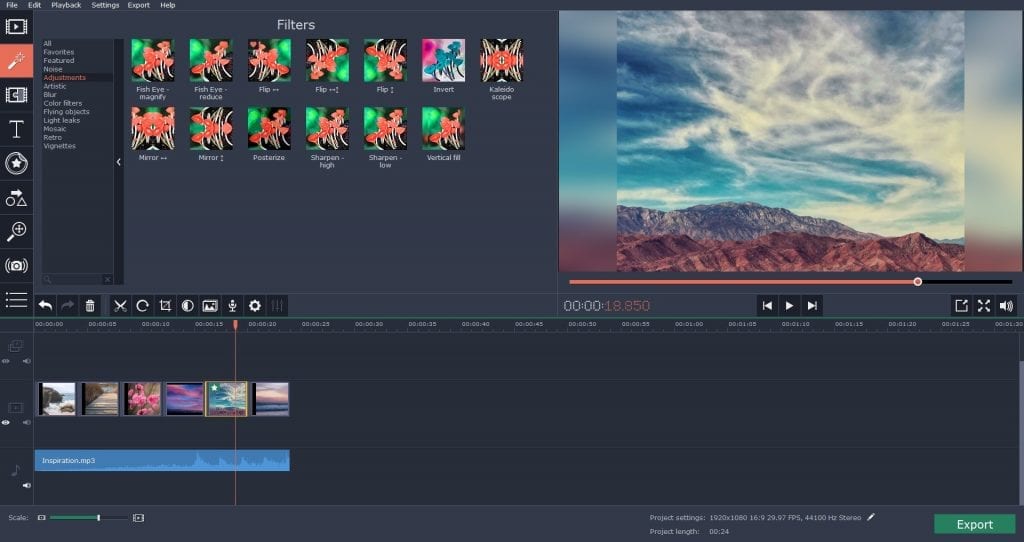
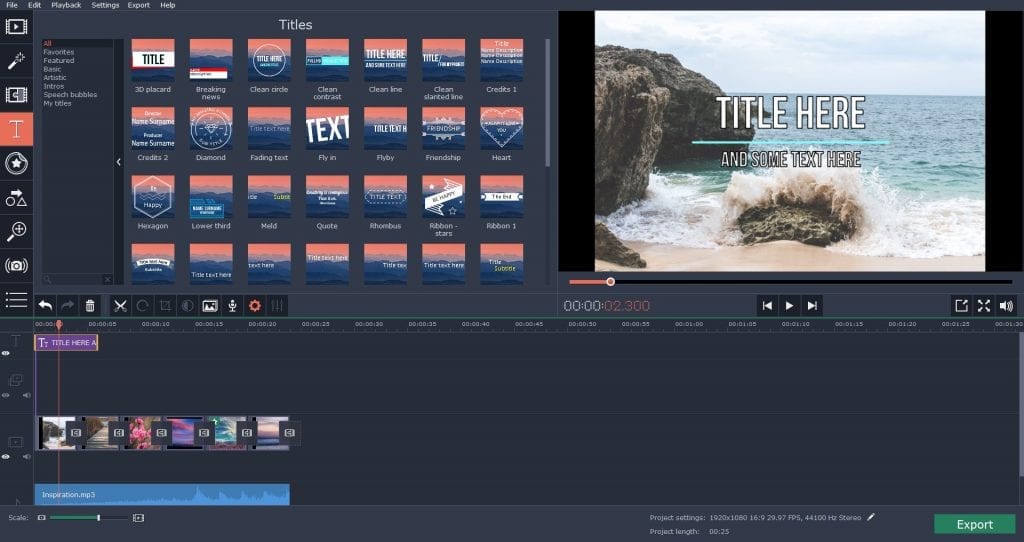
Filters can be used for two purposes: to decorate your movie or to enhance it. The enhancement includes filling in the black bars in vertical videos, sharpening or flipping videos. As a finishing touch to your video, think of opening sequence, credits, and captions that may go with your project. If you think you need them – drag a sample to the main or an additional track on the timeline. Double click on the text will open the editing mode where you can change the caption’s colors, font, and size.
There are plenty tools to edit audio as well. If you work with the original sound from the video, you’ll probably need tools that eliminate background noises and normalize the volume. The equalizer and audio effects will come in handy if you want to add something interesting to your soundtrack. By the way, you can upload your own music or choose a melody from the program’s collection – there are lots of tunes and sounds.
The export process is simple – and diverse – too. You can save your video practically in any format: MP4, AVI, MOV, and more. There are also presets for saving videos for specific devices – in case you prefer watching movies on your smartphone, tablet, or TV, and not on your computer. Moreover, you can share your video on YouTube directly from the program – just fill in some fields in the export window. One of the important things is that you can choose the resolution of your video – standard 4:3, widescreen 16:9 or even 4K – 256:135. In advanced settings, you can also set a frame rate, framing, sample rate, and audio channels. All in all, Movavi Video Editor is worth trying, regardless your skills of video editing. If you are a beginner – you’ll like its simplicity. If you’re a more advanced user – you’ll appreciate the variety of functions.
Δ
